101Leafy researched the games.
Desert Zone
27 quests take place in the Desert Zone.
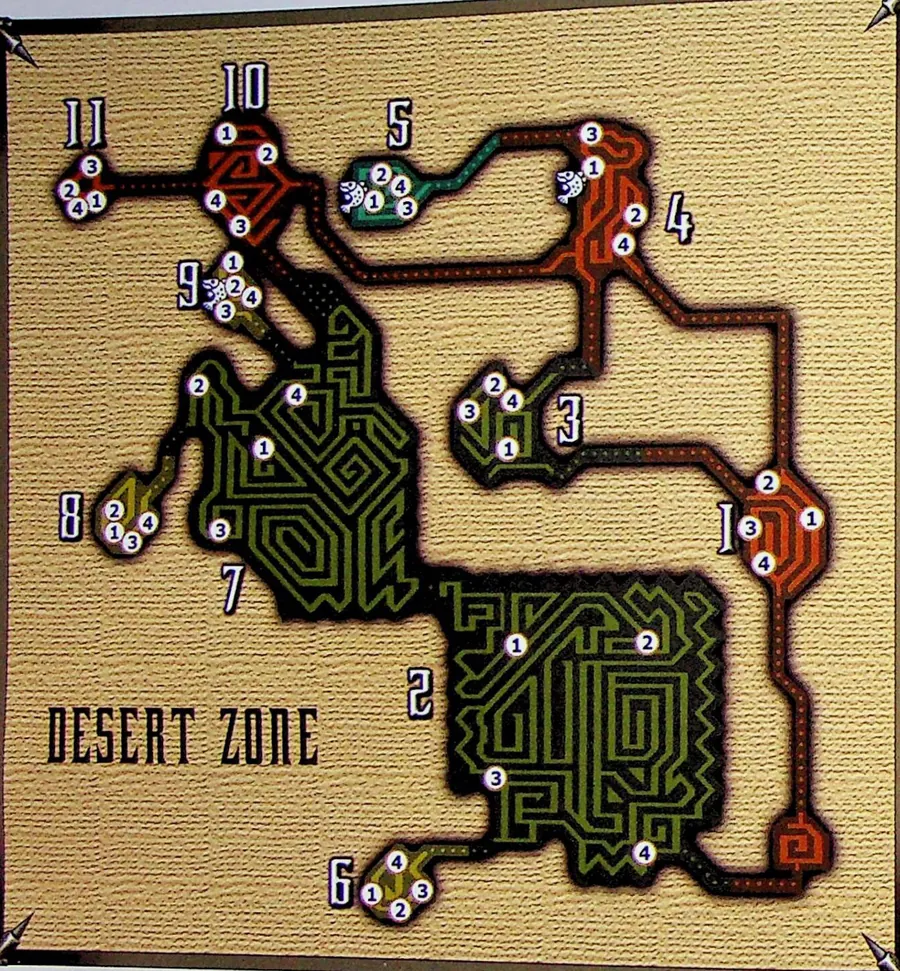
Gathering points
Point numbers match the small numbers on the map. Online quests of 4 stars and up use the latter lists; village quests and online quests of 1 to 3 stars use the early ones. Some quests change a point or add one, and those rows name the quests. Max is how many times a point gives an item before it runs out.
Area 1
| Point | Type | Quests | Max | Items |
|---|---|---|---|---|
| 1 | Gathering | All quests | 4 |
|
| 2 | Gathering | All quests | 4 |
|
| 3 | Gathering | All quests | 5 |
|
| 4 | Gathering | All quests | 4 |
Area 2
| Point | Type | Quests | Max | Items |
|---|---|---|---|---|
| 1 | Gathering | Early quests | 5 |
|
| 1 | Gathering | Latter quests | 5 |
|
| 2 | Gathering | Early quests | 3 |
|
| 2 | Gathering | Latter quests | 3 |
|
| 3 | Gathering | All quests | 4 |
|
| 4 | Gathering | All quests | 4 |
|
Area 3
| Point | Type | Quests | Max | Items |
|---|---|---|---|---|
| 1 | Gathering | All quests | 2 |
|
| 2 | Gathering | All quests | 1 |
|
| 3 | Gathering | All quests | 1 |
|
| 4 | Gathering | Early quests | 2 |
|
| 4 | Gathering | Latter quests | 2 |
|
Area 4
| Point | Type | Quests | Max | Items |
|---|---|---|---|---|
| 1 | Gathering | All quests | 10 | |
| 2 | Gathering | All quests | 5 |
|
| 3 | Gathering | All quests | 4 |
|
| 4 | Gathering | All quests | 4 |
|
Area 5
| Point | Type | Quests | Max | Items |
|---|---|---|---|---|
| 1 | Bug net | Early quests | 5 |
|
| 1 | Bug net | Latter quests | 5 |
|
| 2 | Gathering | Early quests | 4 |
|
| 2 | Gathering | Latter quests | 4 |
|
| 3 | Gathering | All quests | 4 | |
| 4 | Gathering | Early quests | 5 |
|
| 4 | Gathering | Latter quests | 5 |
|
Area 6
| Point | Type | Quests | Max | Items |
|---|---|---|---|---|
| 1 | Mining | Early quests | 5 |
|
| 1 | Mining | Latter quests | 5 |
|
| 2 | Mining | Early quests | 8 |
|
| 2 | Mining | Latter quests | 8 |
|
| 3 | Mining | Early quests | 8 |
|
| 3 | Mining | Latter quests | 8 |
|
| 4 | Gathering | All quests | 4 |
Area 7
| Point | Type | Quests | Max | Items |
|---|---|---|---|---|
| 1 | Gathering | Early quests | 4 |
|
| 1 | Gathering | Latter quests | 4 |
|
| 2 | Gathering | All quests | 3 |
|
| 3 | Gathering | All quests | 3 |
|
| 4 | Gathering | All quests | 4 |
|
Area 8
| Point | Type | Quests | Max | Items |
|---|---|---|---|---|
| 1 | Gathering | All quests | 5 |
|
| 1 | Gathering | Apceros Egg Hunt (Online ★★), Apceros Egg Hunt (Online ★★★★★), Bring Me Eggs! (Village ★★★★) | No limit |
|
| 2 | Gathering | All quests | 3 |
|
| 3 | Gathering | All quests | 5 |
|
| 4 | Gathering | All quests | 4 |
|
Area 9
| Point | Type | Quests | Max | Items |
|---|---|---|---|---|
| 1 | Gathering | All quests | 4 |
|
| 2 | Gathering | Early quests | 4 |
|
| 2 | Gathering | Latter quests | 4 |
|
| 3 | Gathering | All quests | 3 |
|
| 4 | Gathering | Early quests | 4 |
|
| 4 | Gathering | Latter quests | 4 |
|
Area 10
| Point | Type | Quests | Max | Items |
|---|---|---|---|---|
| 1 | Gathering | All quests | 4 |
|
| 2 | Gathering | All quests | 6 |
|
| 3 | Gathering | All quests | 5 | |
| 4 | Gathering | Early quests | 4 |
|
| 4 | Gathering | Latter quests | 4 |
|
Area 11
| Point | Type | Quests | Max | Items |
|---|---|---|---|---|
| 1 | Gathering | All quests | 4 |
|
| 2 | Bug net | Early quests | 5 |
|
| 2 | Bug net | Latter quests | 5 |
|
| 3 | Gathering | All quests | 4 |
|
| 4 | Gathering | Early quests | 5 | |
| 4 | Gathering | Latter quests | 5 |
|
Fishing spots
Each spot holds five fish, and each one is picked from the list below. Online quests of 4 stars and up use the latter lists, and so does A Troublesome Pair (Village ★★★★★); every other quest uses the early ones.
Area 4
| Quests | Fish |
|---|---|
| Early quests |
|
| Latter quests |
|
Area 5
| Quests | Fish |
|---|---|
| Early quests |
|
| Latter quests |
|
Area 9
| Quests | Fish |
|---|---|
| Early quests |
|
| Latter quests |
|
Monsters
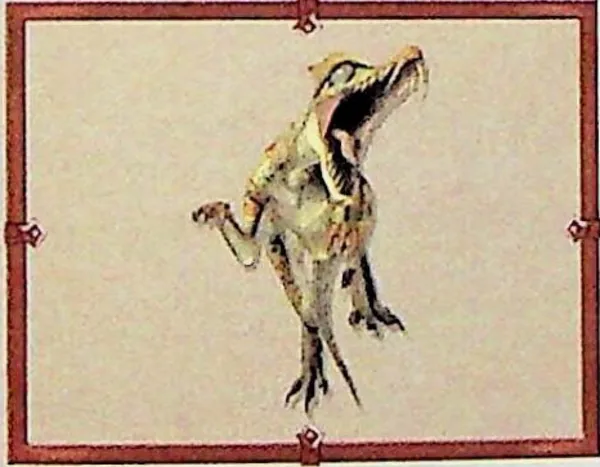
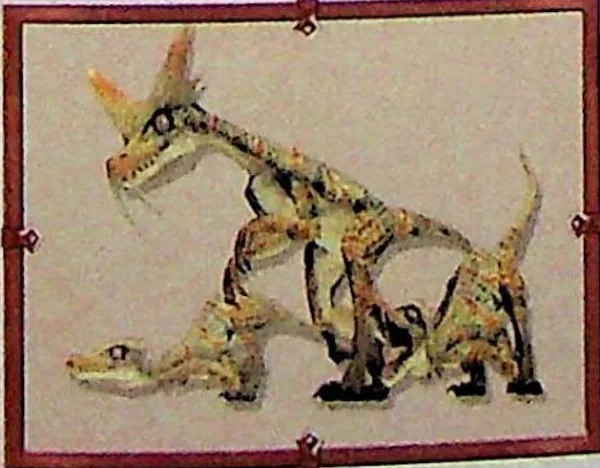
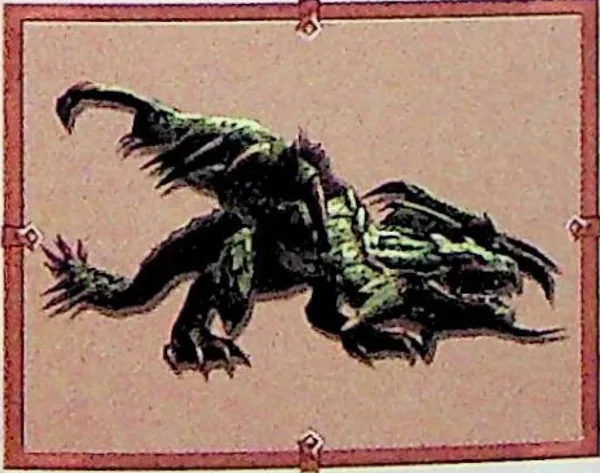
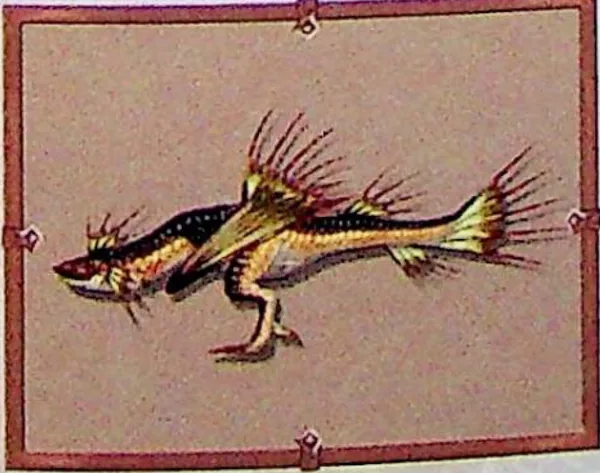
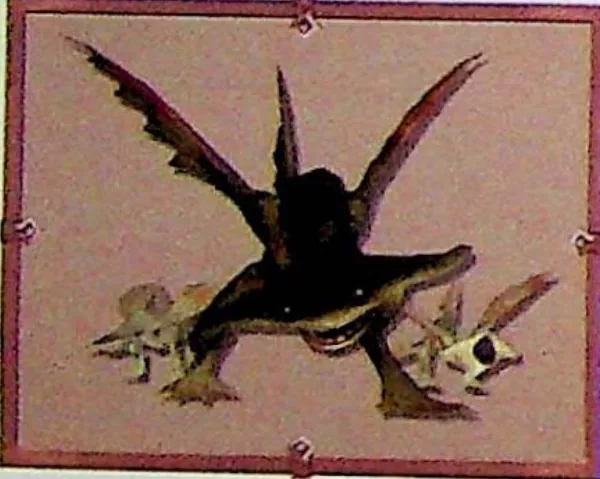
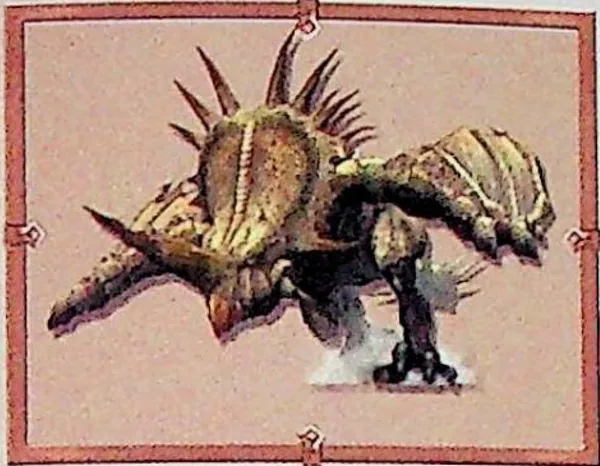
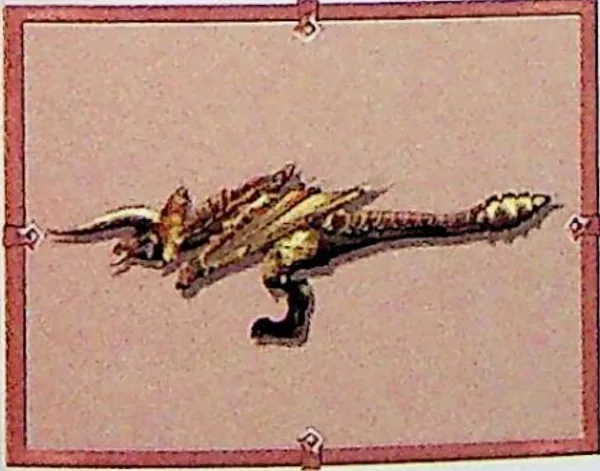
Village quests
| Quest | Stars | Goal | Reward |
|---|---|---|---|
| Liver of Legend! | ★★★ | Deliver 3 Piscine Livers | 600z |
| The Land Shark | ★★★★ | Slay the Cephadrome | 1,200z |
| Bring Me Eggs! | ★★★★ | Deliver 3 Herbivore Eggs | 1,500z |
| Gendrome Redux! | ★★★★★ | Slay 3 Gendrome | 1,100z |
| Horn of the Monoblos | ★★★★★ | Slay the Monoblos | 3,400z |
| The Runaway Diablos | ★★★★★ | Slay the Diablos | 3,200z |
| Water Wyvern in the Desert | ★★★★★ | Slay the Plesioth | 1,400z |
| Queen of the Desert | ★★★★★ | Slay the Rathian | 1,800z |
Online quests
| Quest | Stars | Goal | Reward |
|---|---|---|---|
| The Lady Gourmet | ★ | Deliver 10 Piscine Livers | 1,600z |
| Queen of the Desert | ★★ | Slay the Rathian | 3,600z |
| The Land Shark | ★★ | Slay the Cephadrome | 3,000z |
| Slay the Genprey! | ★★ | Slay 20 Genprey | 1,200z |
| Leaders of the Genprey | ★★ | Slay 3 Gendrome | 2,200z |
| Apceros Egg Hunt | ★★ | Deliver 3 Herbivore Eggs | 3,200z |
| The Runaway Diablos | ★★★ | Slay the Diablos | 4,400z |
| The Land Shark | ★★★ | Slay the Cephadrome | 2,800z |
| The Lady Gourmet | ★★★★ | Deliver 10 Piscine Livers | 2,000z |
| Queen of the Desert | ★★★★★ | Slay the Rathian | 5,000z |
| The Burrowing Monster | ★★★★★ | Slay the Cephadrome | 4,200z |
| Slay the Genprey! | ★★★★★ | Slay 20 Genprey | 1,600z |
| Leaders of the Genprey | ★★★★★ | Slay 3 Gendrome | 2,600z |
| Apceros Egg Hunt | ★★★★★ | Deliver 3 Herbivore Eggs | 3,800z |
| The Runaway Diablos | ★★★★★★ | Slay the Diablos | 6,200z |
| The Burrowing Monster | ★★★★★★ | Slay the Cephadrome | 4,000z |
Online urgent quests
| Quest | Stars | Goal | Reward |
|---|---|---|---|
| Four Horns | ★★★★★★ | Slay 2 Diablos | 9,800z |
Unused quests
| Quest | Stars | Goal | Reward |
|---|---|---|---|
| Take down Diablos! | ★★★ | Slay the Diablos | 10,000z |
| Take down Diablos! | ★★★ | Slay the Diablos | 10,000z |